_Cover")
Creating a Barbie diorama can be a fun and creative project for kids, especially during the lead-up to the release of the Barbie movie this summer. Here are some instructions to help you and your child create a Barbie diorama:
Materials Needed:
- Shoebox or any similar-sized box
- Construction paper or colored cardstock
- Scissors
- Glue or tape
- Markers, crayons, or colored pencils
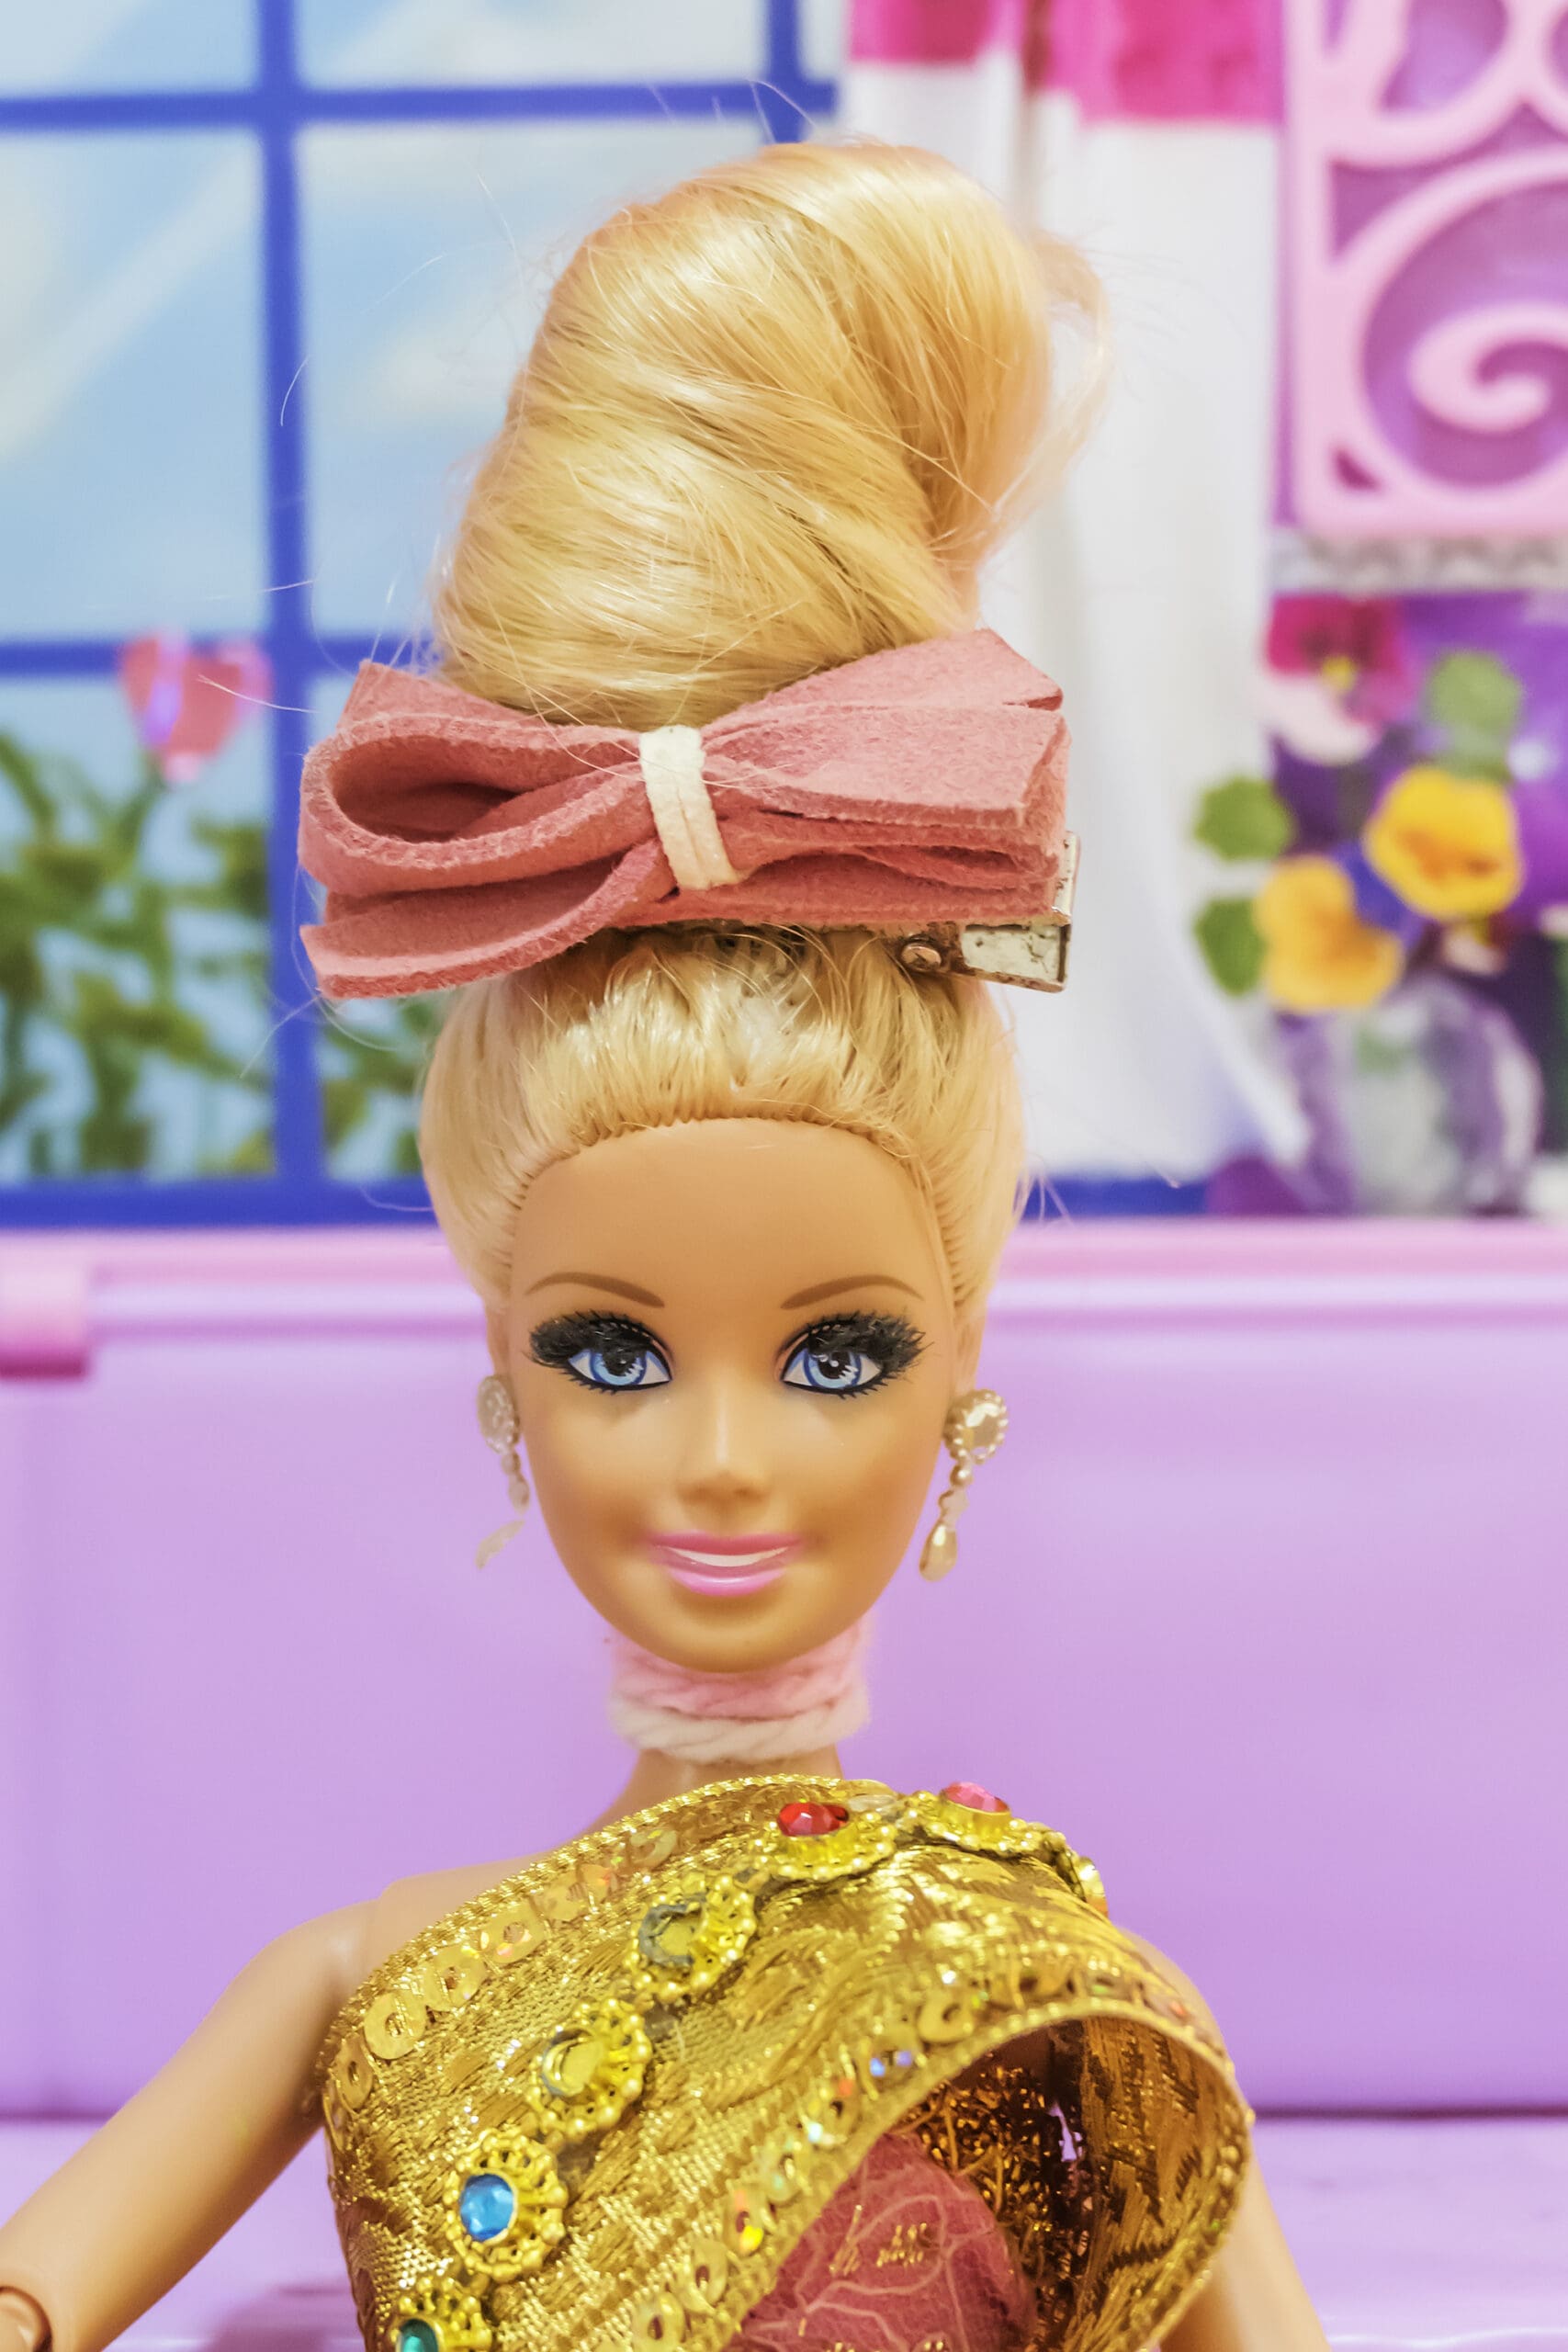
- Barbie dolls and accessories
- Optional: craft materials like fabric scraps, stickers, beads, or small toys for additional decorations
Instructions:
- Select a Theme:
- Discuss with your child what theme they would like for their Barbie diorama. It could be a bedroom, garden, beach scene, or anything else they imagine.
- Prepare the Diorama Base:
- Take the shoebox or box of your choice and remove the lid. This will serve as the base of your diorama.
- Decide whether you want an open-top or open-side diorama. If you choose open-side, you can cut a large window on one side of the box to showcase the scene.
- Decorate the Background:
- Use construction paper or colored cardstock to create the background for your diorama.
- Cut out a piece of paper that fits the back and sides of the box. This will serve as the backdrop for your scene.
- Encourage your child to draw or color a scene that matches their chosen theme. For example, if it’s a bedroom, they can draw a bed, wallpaper, or a window with a view.
- Add Details and Accessories:
- Cut out additional pieces of construction paper or cardstock to create furniture, decorations, or any other elements that enhance the scene.
- Your child can create a bed, table, chairs, plants, or anything they desire to make the diorama come to life.
- Let their creativity shine as they cut, fold, and glue the paper pieces together.
- Place the Barbie Dolls and Accessories:
- Arrange the Barbie dolls and their accessories within the diorama.
- Position them in a way that fits the theme and story of the scene. For example, if it’s a garden, place the dolls among flowers and trees.
- Encourage your child to play and experiment with different arrangements until they are satisfied.
- Add Extra Decorations (optional):
- If desired, your child can further personalize the diorama by adding extra decorations.
- They can use craft materials like fabric scraps, stickers, beads, or small toys to enhance the scene and make it more visually appealing.
- Final Touches:
- Once all the elements are in place, make sure everything is secure. Use glue or tape to hold the construction paper pieces in position.
- Double-check that the dolls and accessories are stable and won’t easily fall over.
- Display and Play:
- Find a suitable spot to display the Barbie diorama. It could be a shelf, table, or any area where it can be easily admired.
- Encourage your child to engage in imaginative play and storytelling with the diorama, bringing their Barbie dolls to life within the created scene.
Creating a Barbie diorama allows children to explore their creativity, practice fine motor skills, and engage in imaginative play. Enjoy the process together and encourage your child to let their imagination run wild! —Vita Daily
Be the first to comment