_Cover")
Setting up a red light therapy room in your house is a great way to incorporate wellness and skincare benefits into your daily routine. Here’s a step-by-step guide to creating a red light therapy space at home:
1. Choose the Right Space
- Location: Pick a quiet, private area where you can relax. It could be a dedicated room or a section of a room, like a bathroom, bedroom, or wellness corner.
- Size: Ensure the space is big enough to accommodate your red light therapy equipment and allow you to comfortably sit, stand, or lie down during sessions.
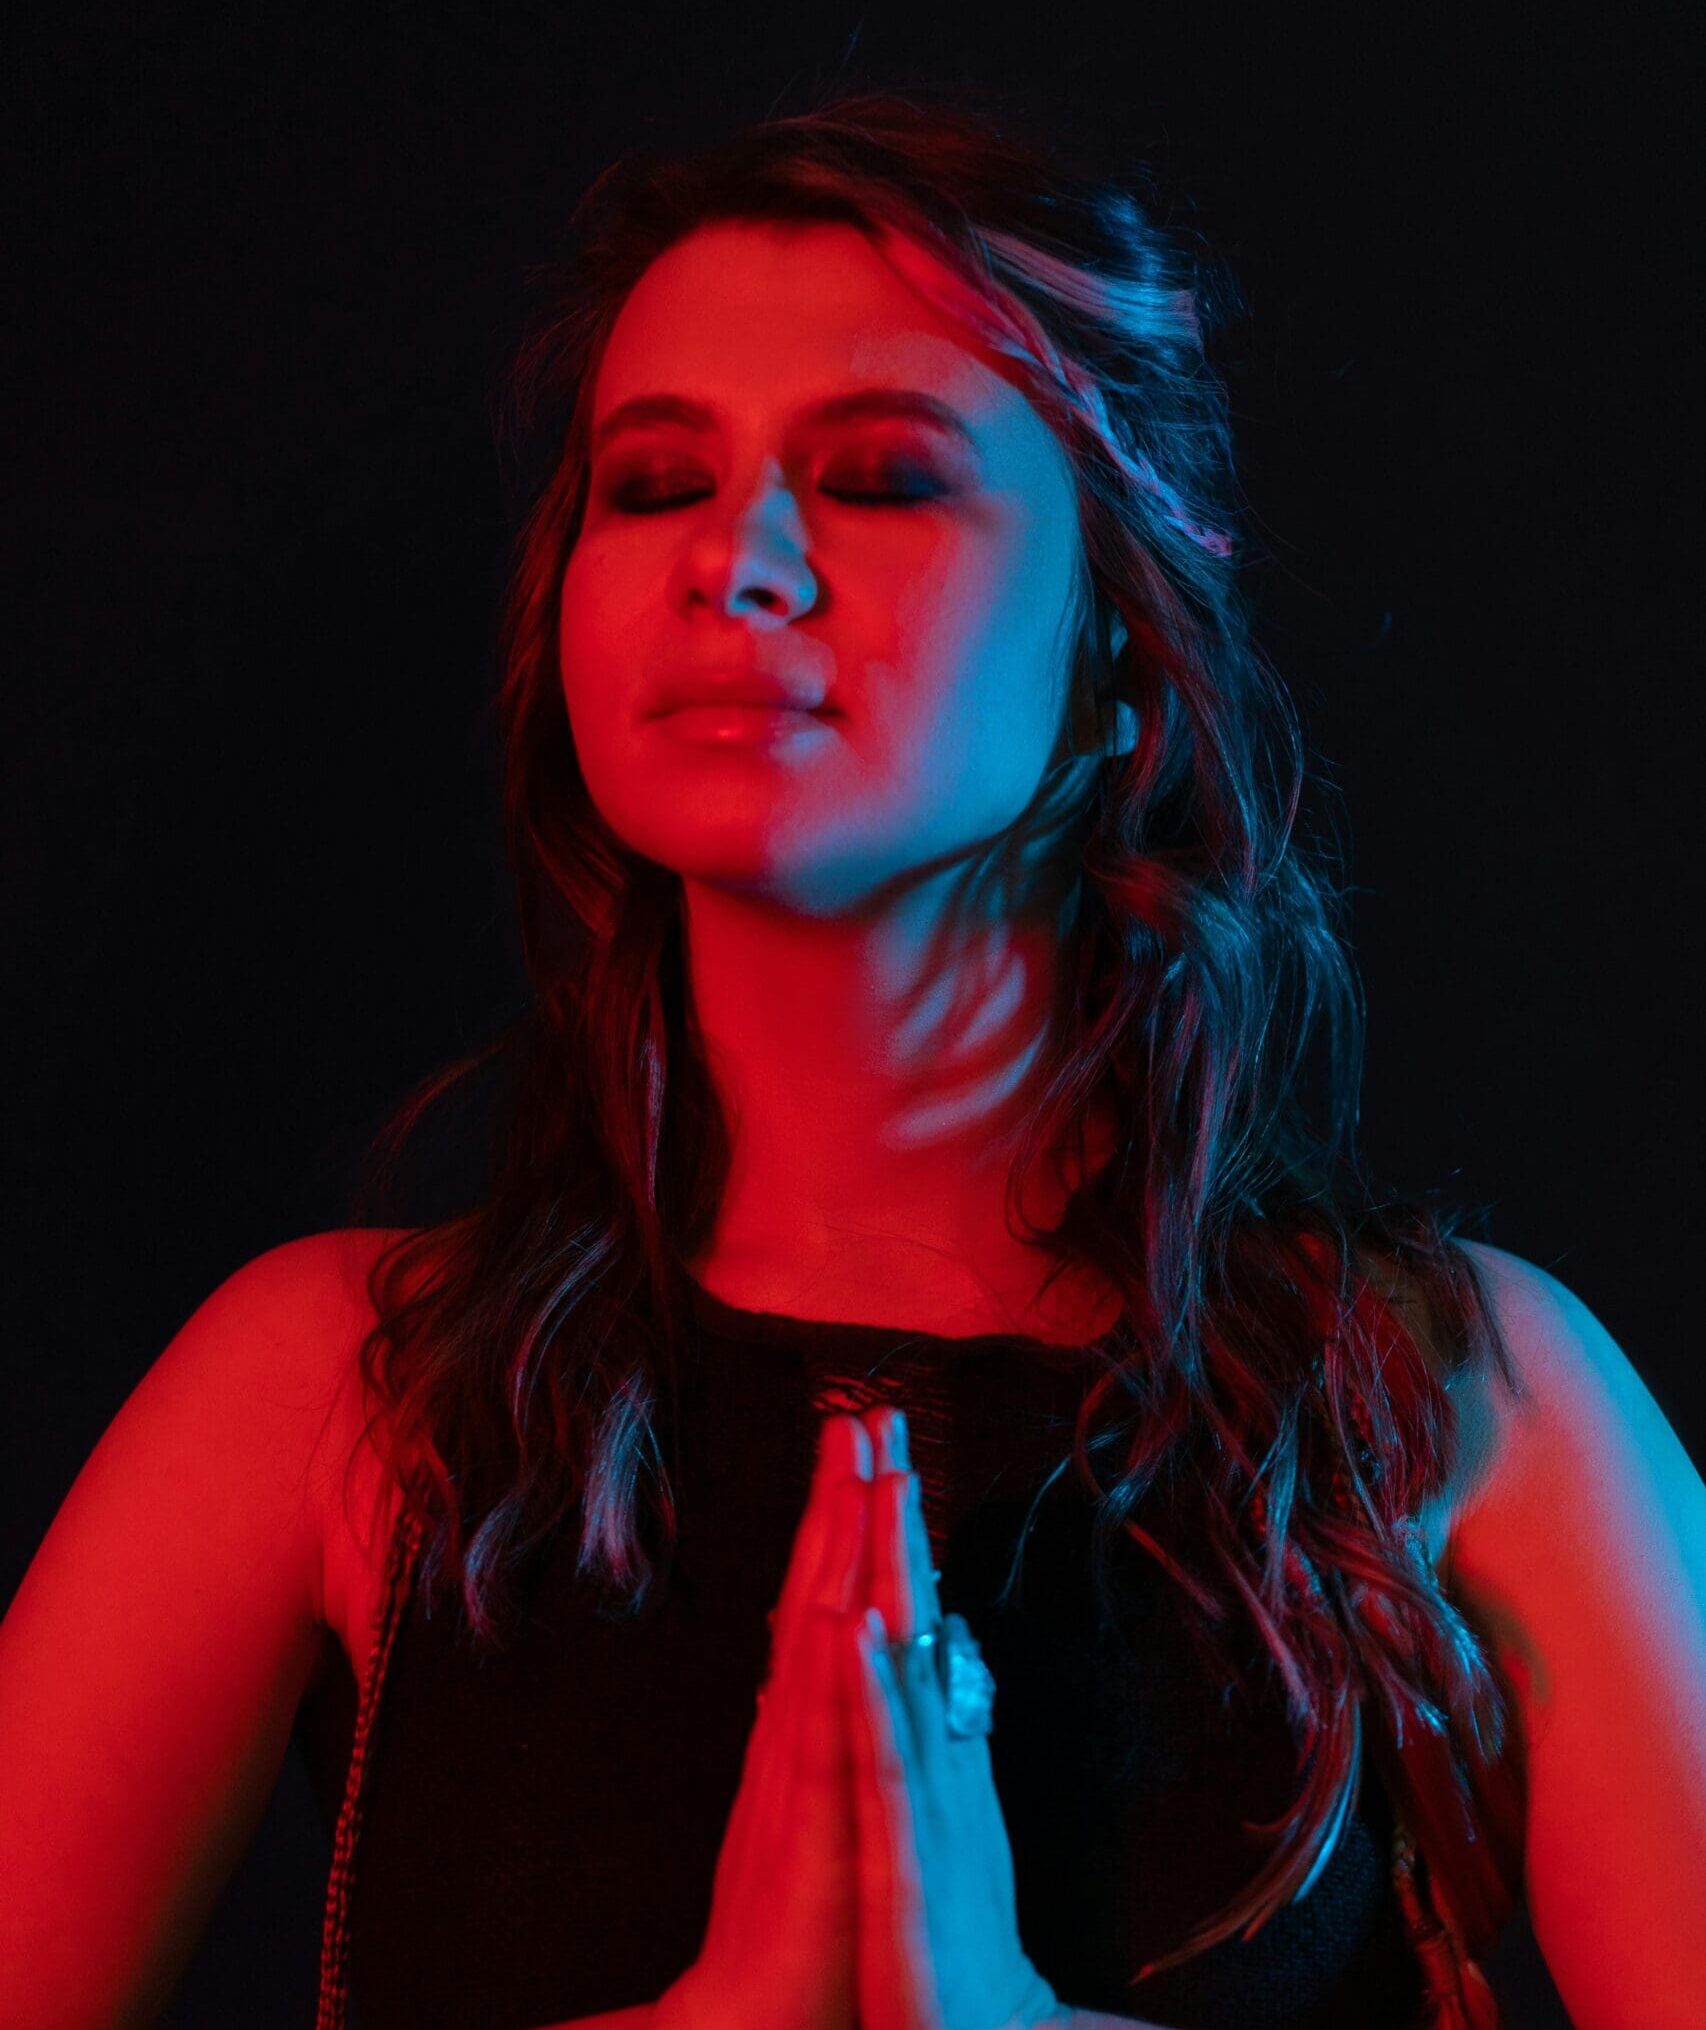
- Lighting Control: Opt for a space where you can control external lighting for a calming environment, as the red light works best without interference from other light sources.
2. Select the Right Red Light Therapy Device
- Types of Devices:
- Handheld Devices: Portable and budget-friendly, suitable for small areas.
- Panels: Larger devices designed to cover more skin at once. Full-body panels are great if you want to treat multiple areas simultaneously.
- Red Light Therapy Beds: For an ultimate spa-like experience, red light therapy bed provide whole-body treatment, but they require a dedicated space.
- Wavelength: Make sure the device offers the appropriate wavelengths—630nm to 660nm for skin treatments and 810nm to 850nm for deeper tissue and muscle benefits.
- Power Output: Look for a device with sufficient power (measured in milliwatts per square centimeter) to ensure effective treatment. Most devices should be around 100mW/cm² or higher.
3. Set Up Your Red Light Device
- Mounting: Wall-mount the panel, use a floor stand, or place it on a table depending on the type of device you choose.
- Distance: Follow the manufacturer’s recommendations for how far away to sit or stand. Typically, devices suggest 6-24 inches from the skin for optimal results.
- Angle: Ensure that the device is positioned to cover the areas you want to treat effectively.
4. Create a Relaxing Atmosphere
- Comfortable Seating: Add a chair, yoga mat, or massage table for comfort during your sessions.
- Ambiance: Enhance relaxation by using soft, indirect lighting around the space that won’t interfere with the red light therapy. Aromatherapy diffusers, soft music, or essential oil candles can also help create a calming environment.
- Ventilation: Ensure good air circulation in the room for comfort, especially if you plan on using the room for extended sessions.
5. Establish a Routine
- Session Length: Most sessions last between 10 to 20 minutes, but follow your device’s instructions for proper usage.
- Consistency: For best results, incorporate red light therapy into your routine 3-5 times a week, depending on your goals.
- Safety: Always wear protective eyewear to shield your eyes from the intense light, as red and near-infrared light can be harmful to the eyes with prolonged exposure.
6. Additional Enhancements
- Mirrors: A mirror can help you target specific areas of your body more accurately during your session.
- Storage: Keep accessories like protective glasses, towels, or other wellness tools nearby for easy access.
Once your red light therapy room is set up, you’ll have a peaceful, healing space to enjoy the many benefits, including improved skin health, reduced muscle pain, and relaxation.
Be the first to comment