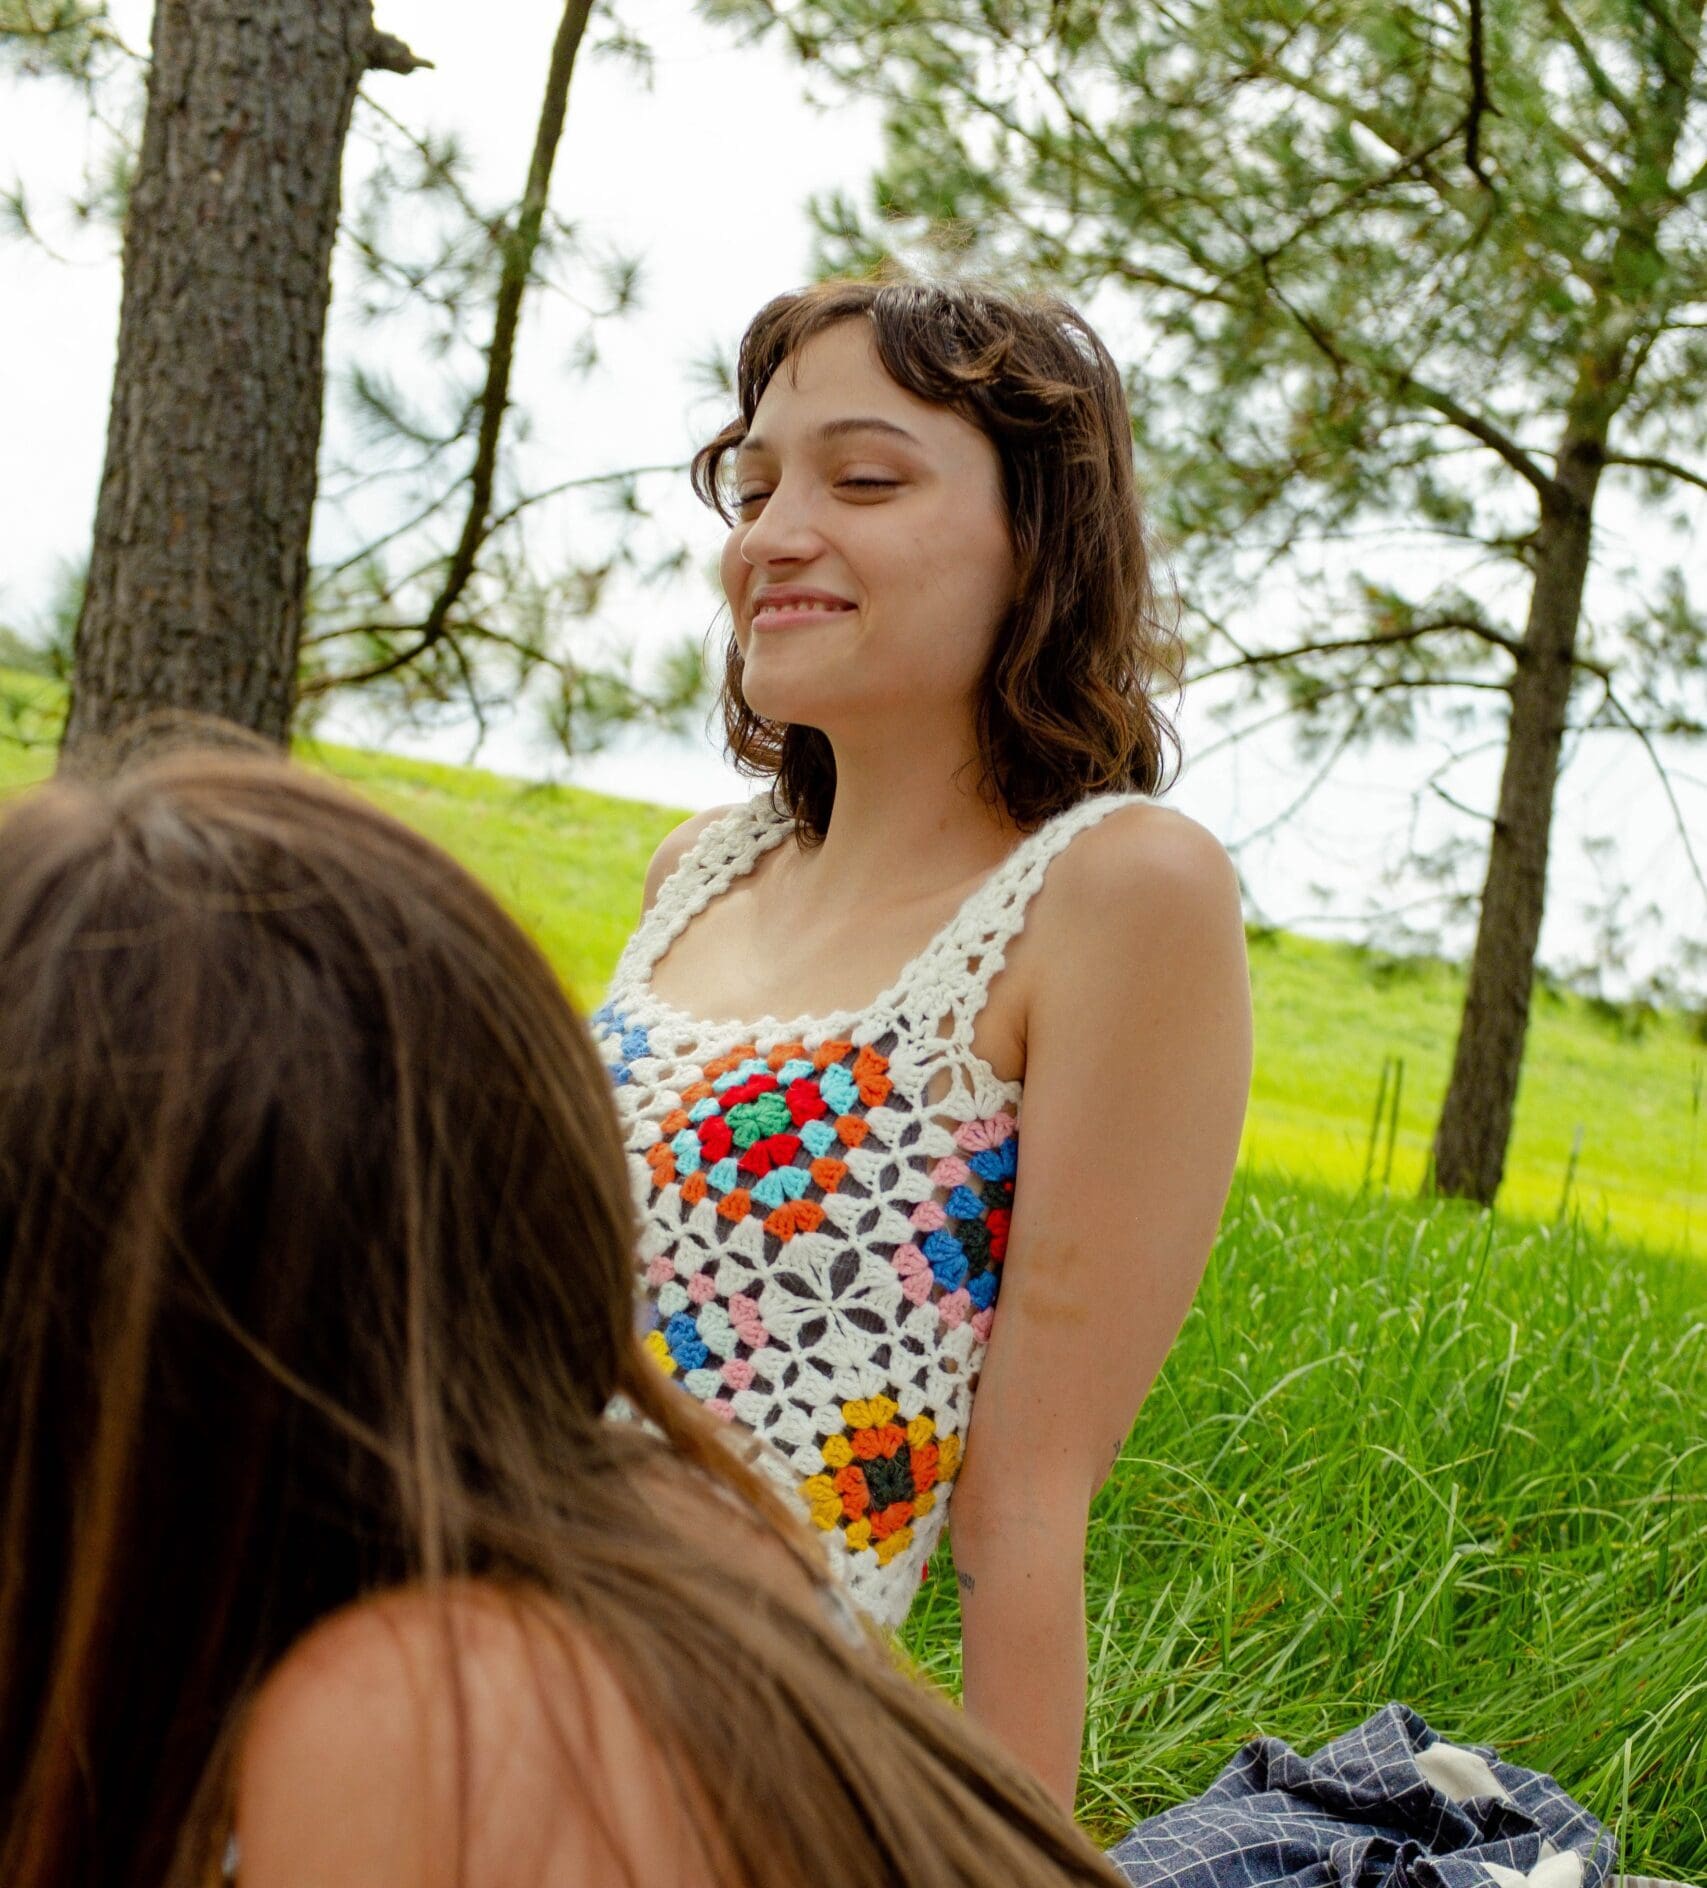
Here’s a step-by-step guide on how to DIY a crocheted tank top, along with a simple pattern for beginners:
Materials needed:
- Worsted weight yarn (Choose a cotton or cotton blend yarn for a lightweight and breathable tank top)
- Crochet hook (appropriate size for your yarn, usually between 4.0 mm to 6.0 mm)
- Scissors
- Yarn needle
- Stitch markers (optional)
Pattern: Note: This pattern is for a basic crocheted tank top worked from the top down in a simple rectangle shape.
Step 1: Measurements and Gauge Take your bust measurement and decide on the desired length of the tank top. Make a gauge swatch by crocheting a small square using your chosen stitch pattern. Measure the number of stitches and rows per inch to determine your gauge.
Step 2: Chain and Foundation Row Chain a number of stitches that is slightly smaller than your bust measurement, plus a few additional chains for ease. Make sure the total number of chains is divisible by two. Example: If your bust measurement is 36 inches, you could chain 70 stitches.
Step 3: First Row Double crochet (dc) in the fourth chain from the hook and in each chain across. This row forms the foundation row of your tank top.
Step 4: Body of the Tank Top Continue working in double crochet (dc) stitches across all rows until you reach the desired length for your tank top. Use your gauge swatch to estimate the number of rows needed.
Step 5: Armholes To create armholes, you’ll need to decrease stitches. On each side of the tank top, skip a certain number of stitches (depending on your desired armhole size) and continue crocheting the remaining stitches across the row. This will create openings for the armholes.
Step 6: Finishing Once you’ve reached the desired length and created the armholes, fasten off your yarn and weave in any loose ends using a yarn needle. You can also add decorative touches like crochet edging or straps if desired.
Please note that this is a basic pattern, and you can customize it by adding stitch patterns, shaping, or any other embellishments you like. Feel free to experiment and make it your own!
Remember to refer to crochet stitch abbreviations and symbols for specific instructions on the stitches used in the pattern. —Vita Daily

Be the first to comment