
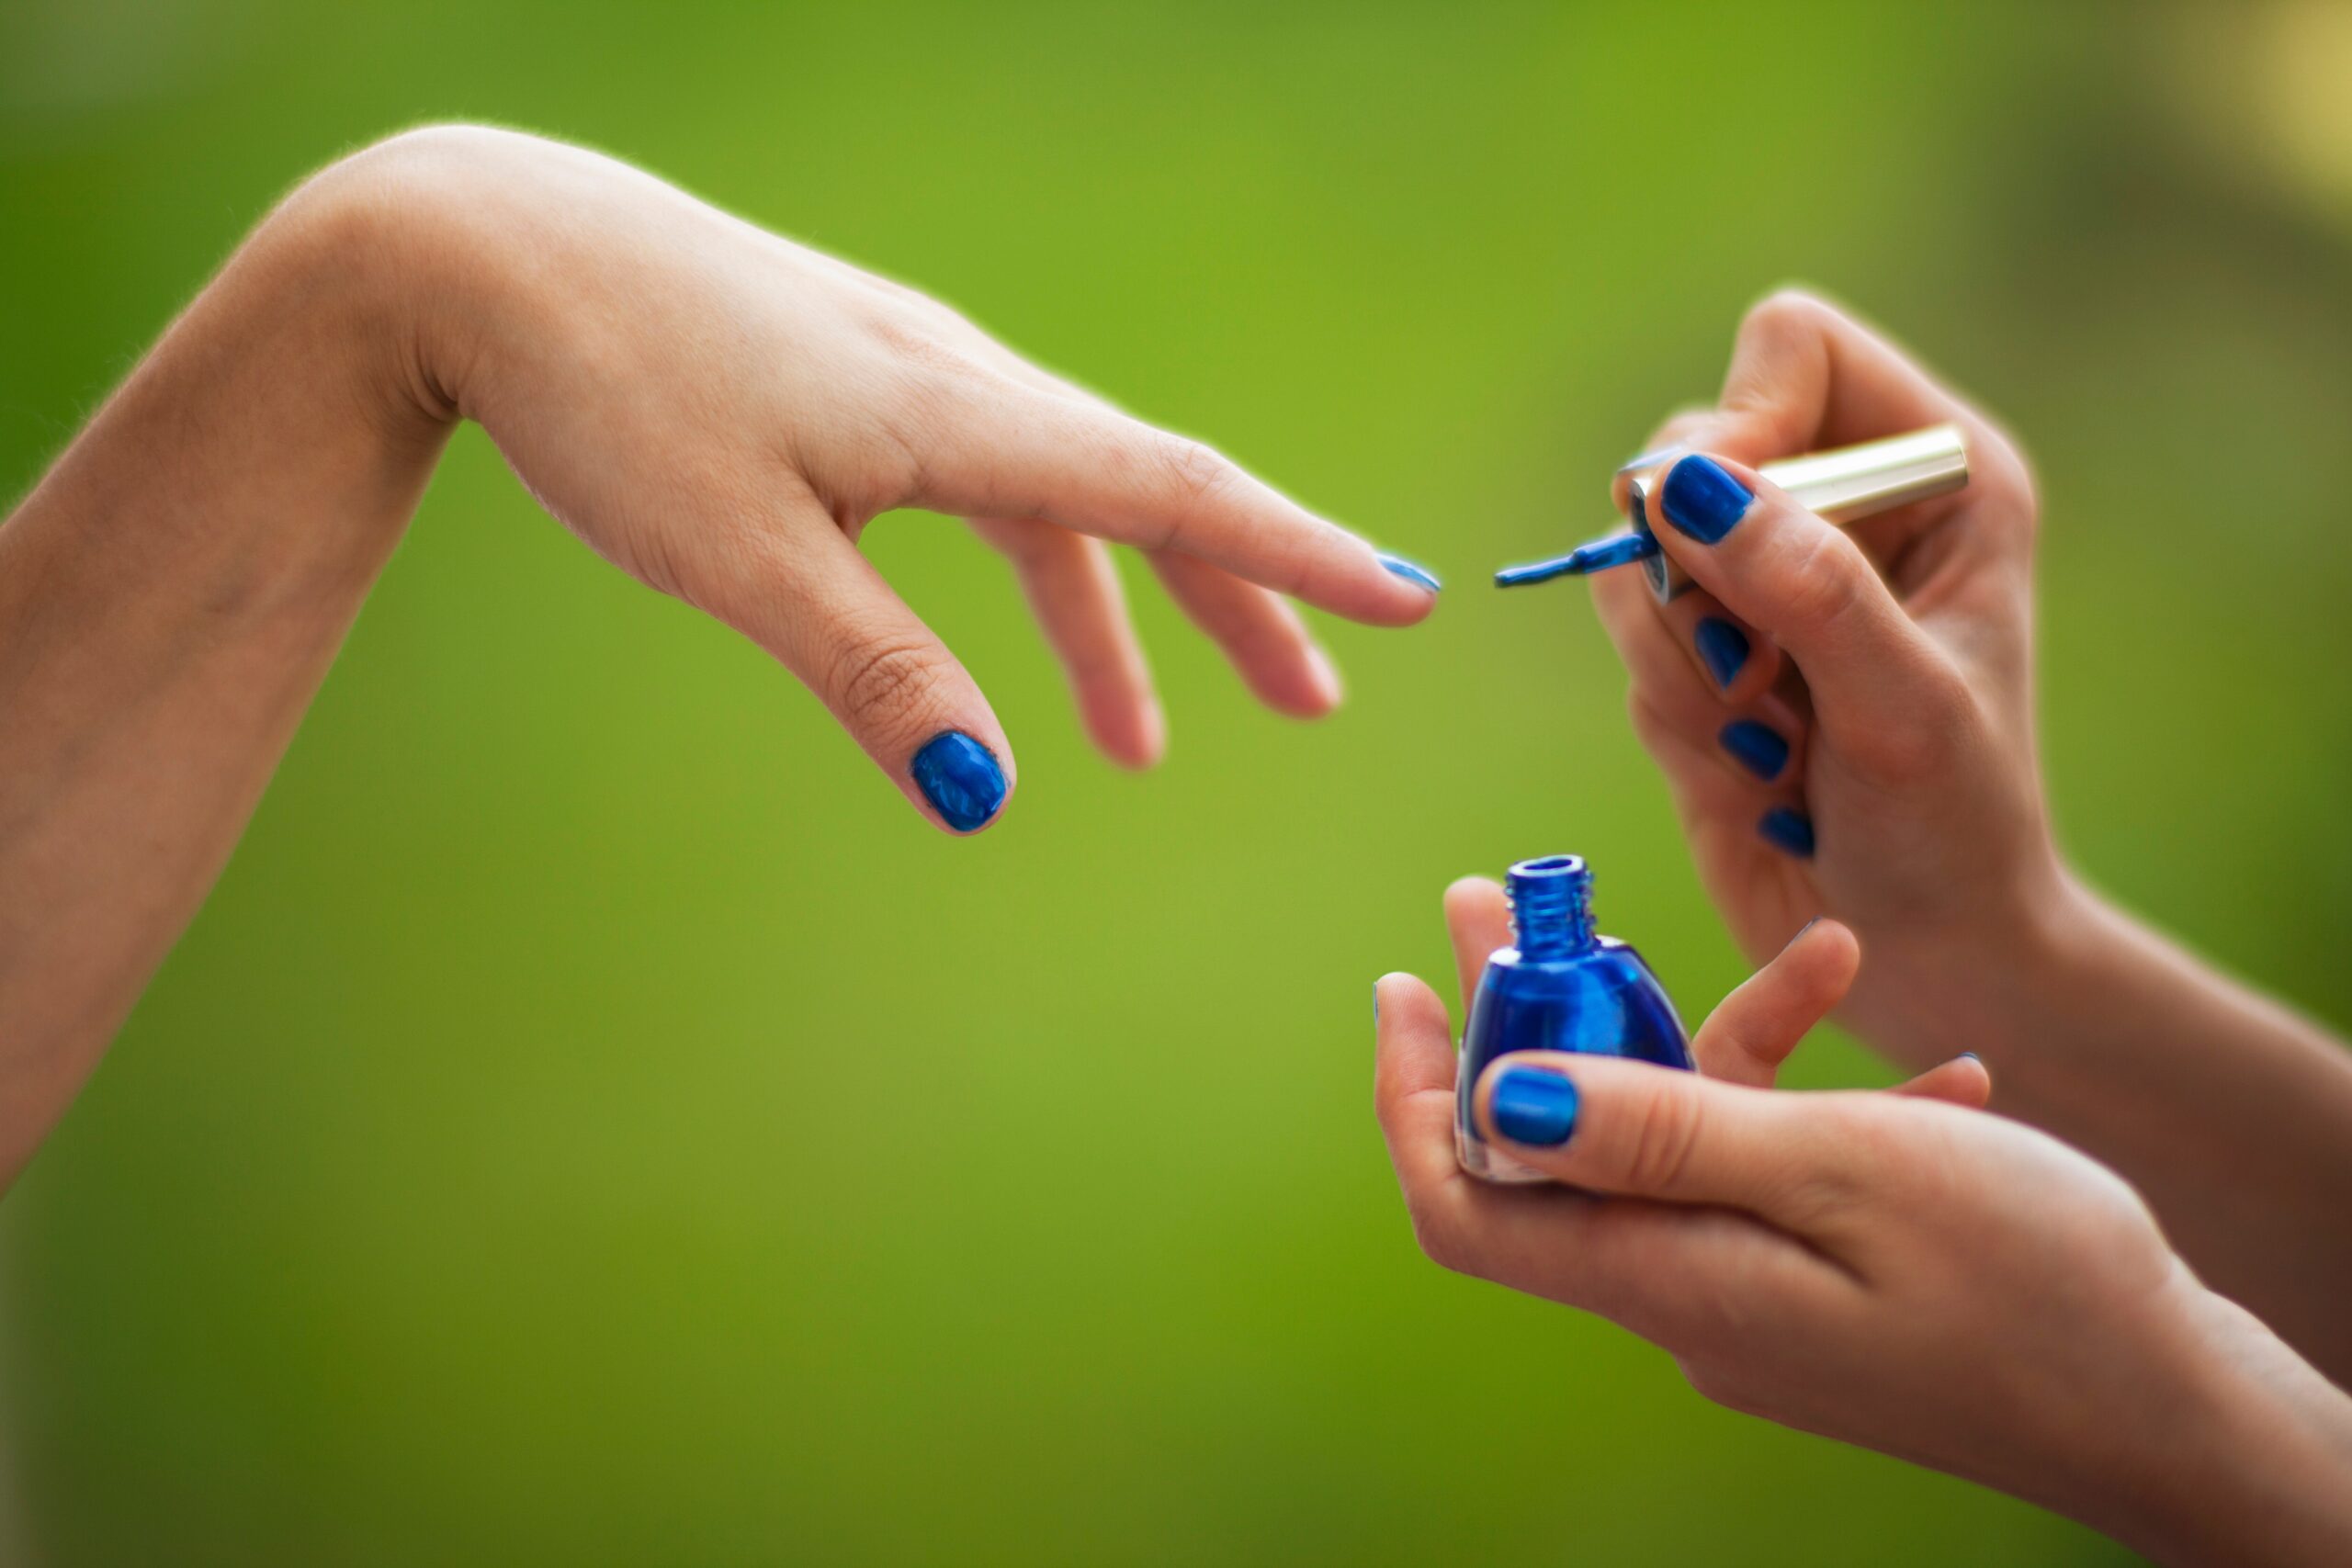
“Water nails,” also known as “water marble nails,” refer to a nail art technique where nail polish is swirled and manipulated on the water’s surface to create a unique marbled design. It creates a mesmerizing and intricate pattern on the nails. Here’s a general guide on how to achieve water marble nails:
Materials Needed:
- Nail polishes of your choice (at least two or more colors)
- A small bowl or cup filled with room temperature water
- Tape or liquid latex (optional) to protect the skin around the nails
- A toothpick or a thin nail art brush
- Cotton swabs or nail polish remover for cleanup
- Base coat and top coat (optional but recommended)
Instructions:
- Prepare your nails:
- Start by shaping and cleaning your nails. Apply a base coat to protect your nails and help the nail polish adhere better (optional but recommended).
- Protect the skin (optional):
- To minimize the cleanup process, you can apply tape or liquid latex around your nails to create a barrier. This will help prevent excess nail polish from sticking to your skin.
- Set up your workspace:
- Fill a small bowl or cup with room temperature water. Make sure the container is wide enough to accommodate your nails when dipping.
- Prepare the nail polishes:
- Open the nail polishes you’ll be using for the water marble design. It’s best to work with nail polishes that have a good consistency and are not too thick or too thin.
- Create the design:
- Working quickly, drop one color of nail polish onto the water’s surface. Allow it to spread slightly.
- Drop another color on top of the first color and allow it to spread as well.
- Continue adding drops of different colors, one on top of the other, until you achieve the desired pattern. You can use a toothpick or a thin nail art brush to create swirls or patterns in the polish on the water’s surface.
- Dip your nails:
- Hold your fingers in a relaxed position and slowly dip your nails into the water, aiming for the area with the desired design.
- Once your nails are fully submerged, use a toothpick or a clean-up brush to remove any excess polish from the water’s surface.
- Remove your fingers:
- Carefully lift your fingers out of the water. You should see the marbled design transferred onto your nails.
- Cleanup:
- Use a cotton swab or a brush dipped in nail polish remover to clean up any excess nail polish on your skin or cuticles.
- Wait for the design on your nails to dry completely before applying a top coat to seal and protect the design.
Remember, water marble nails can be a bit tricky and require practice to achieve the desired results. It’s a good idea to watch tutorial videos or read detailed guides for more specific instructions and visual demonstrations. Have fun experimenting with different color combinations and patterns to create stunning water marble nail designs. —Vita Daily
Be the first to comment