
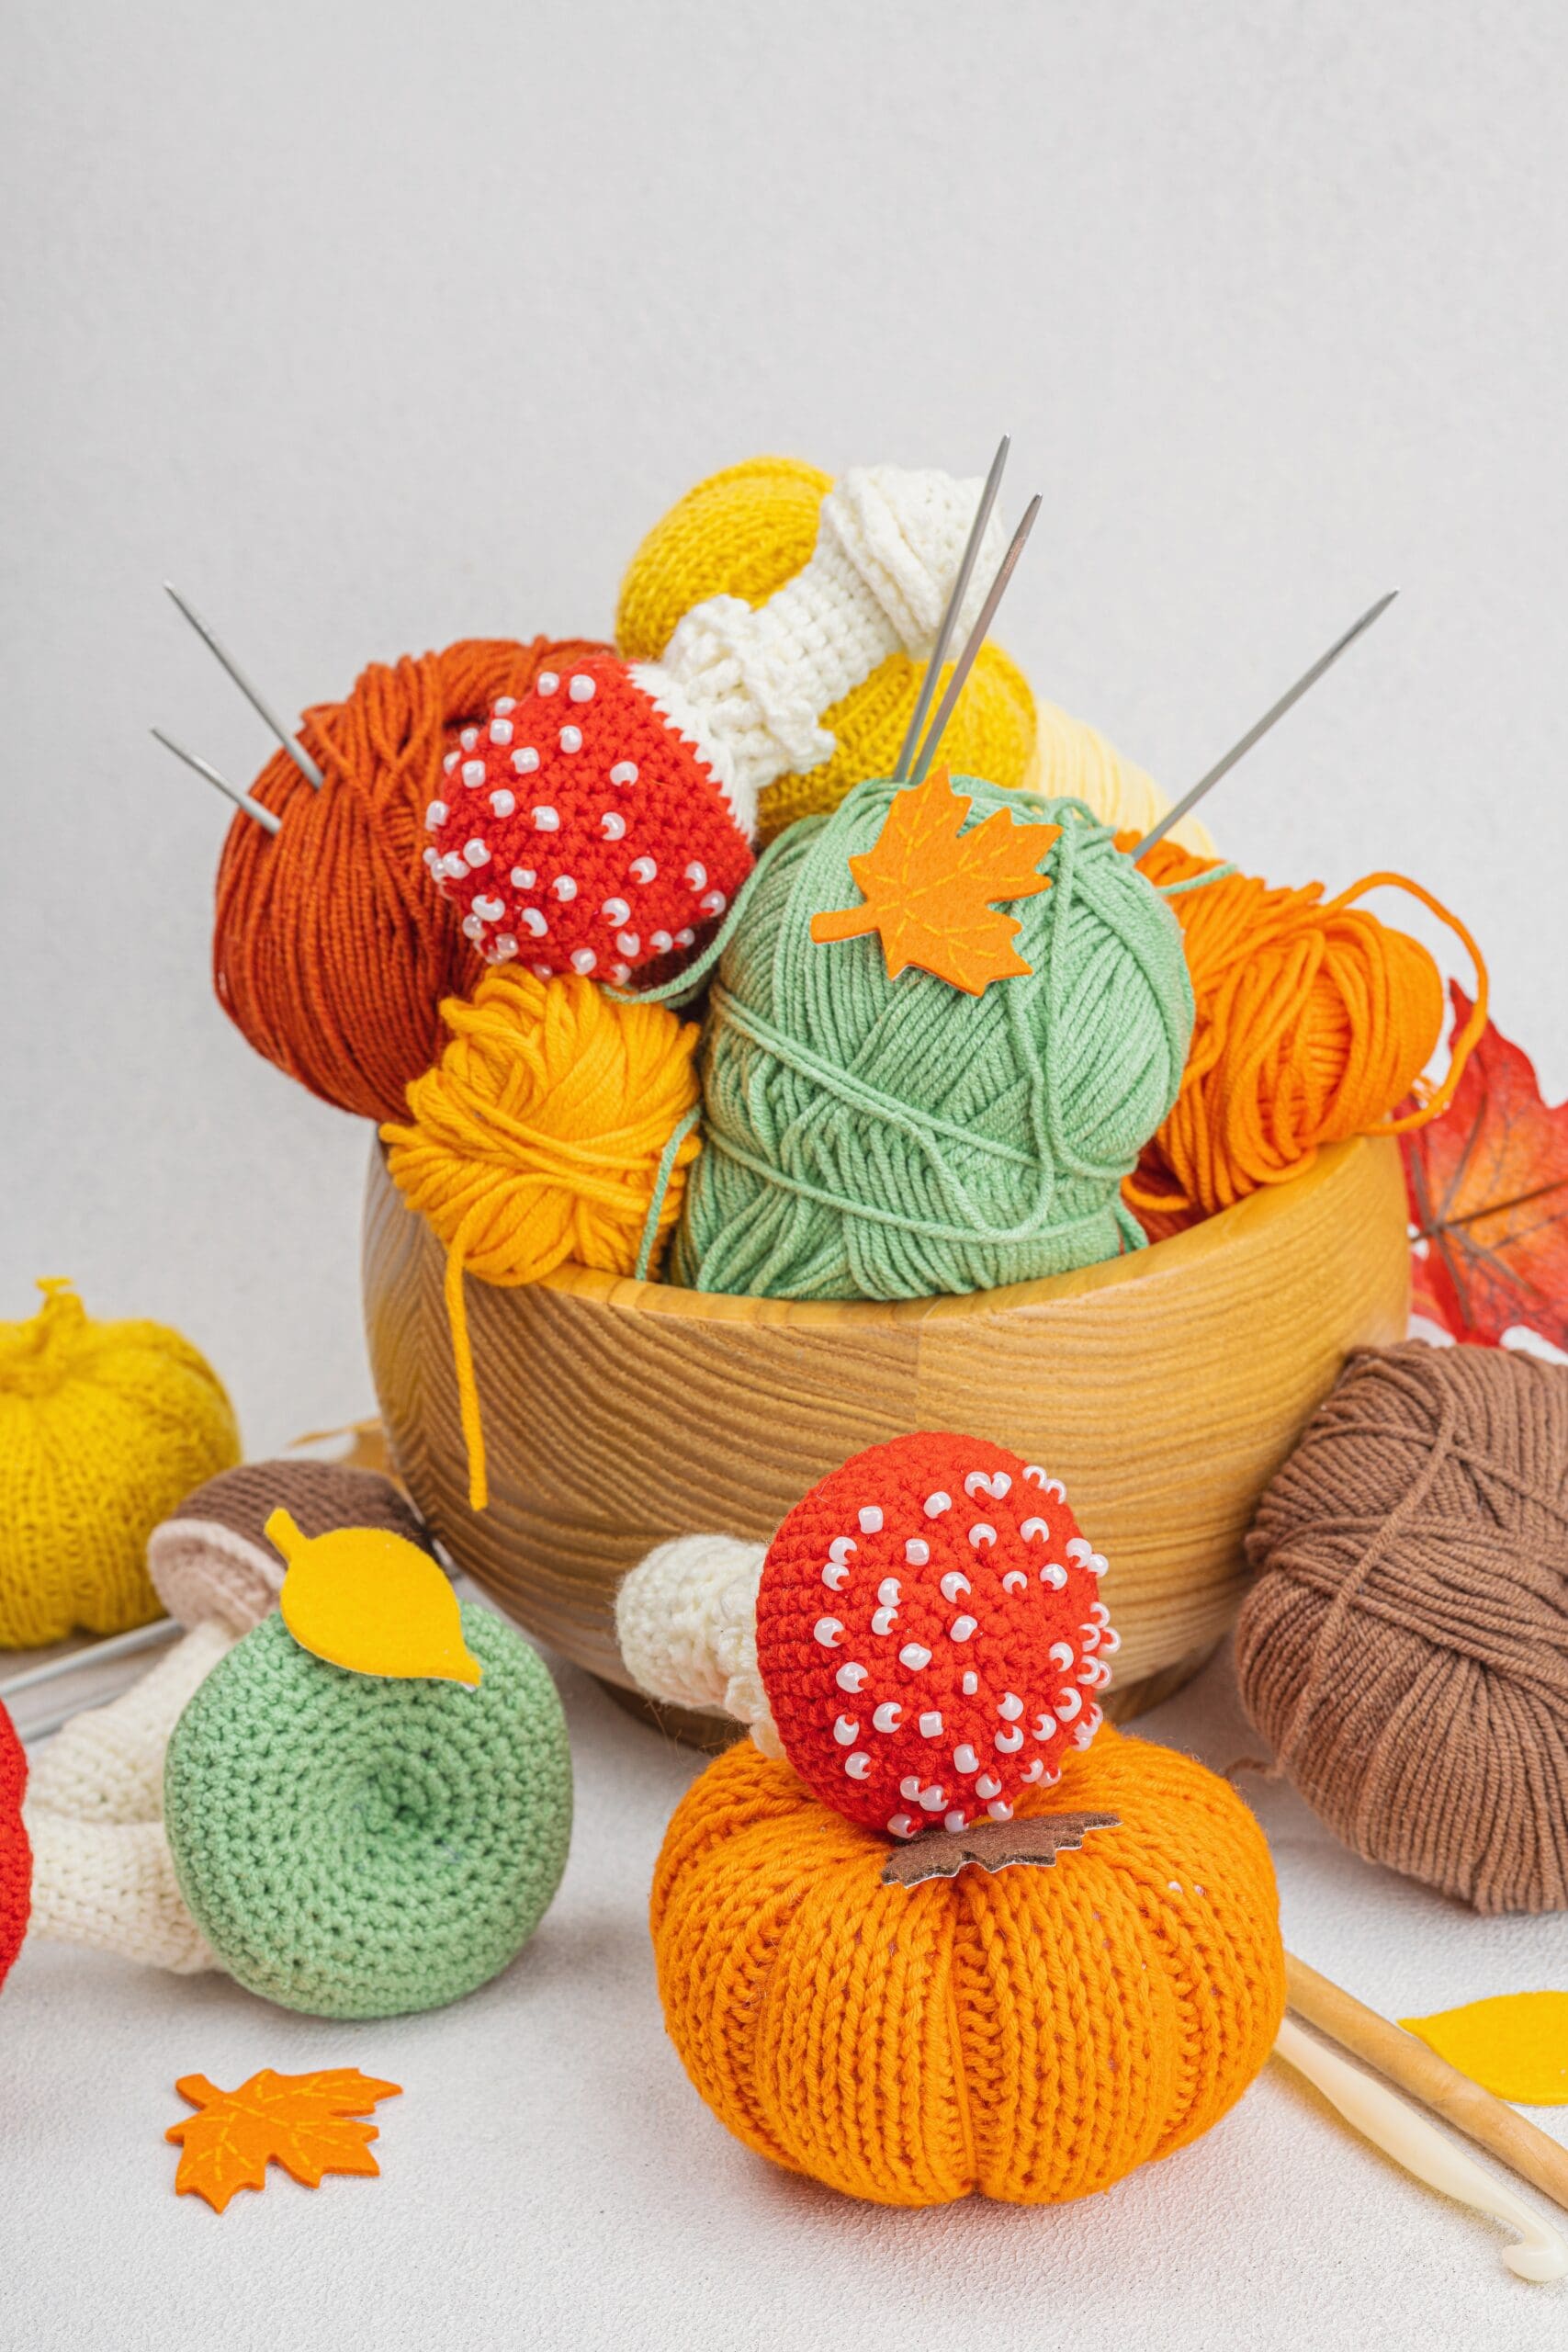
Making a crochet pumpkin or toadstool is a fun and festive project that can add a cozy touch to your fall decor. Here’s a simple guide on how to make both:
Crochet Pumpkin
Materials:
- Yarn: Use worsted weight yarn in orange for the pumpkin, green or brown for the stem, and optional yellow for detail.
- Hook: 4.0mm (or size that matches your yarn)
- Tapestry needle: For sewing pieces together and weaving in ends.
- Stuffing: Fiberfill or scrap yarn for filling the pumpkin.
- Scissors
Instructions:
1. Create the Pumpkin Body
You will first crochet a rectangular piece, which will be sewn together and shaped into the pumpkin.
Step 1: Foundation Chain
- Chain 21 (or more for a larger pumpkin).
Step 2: Rows
- Row 1: Single crochet (sc) in the second chain from hook and across. Chain 1, turn.
- Row 2: Single crochet in the back loops only (this gives it a ribbed texture), chain 1, and turn.
- Repeat Row 2 until the rectangle is as wide as it is tall. This typically takes about 26 rows.
Step 3: Forming the Pumpkin
- Once your rectangle is done, fold it in half to match the short sides together. Slip stitch the sides together to form a tube.
- Next, use the yarn tail and a tapestry needle to sew a running stitch along one open edge of the tube. Pull the yarn tightly to cinch the edge closed. Fasten off.
2. Stuff the Pumpkin
- Turn the tube right side out and stuff it with fiberfill. Make sure it’s plump but not overly packed.
3. Close the Other End
- After stuffing, sew a running stitch along the top open edge. Pull tightly to close. Don’t fasten off yet.
4. Shape the Pumpkin
- To create the pumpkin’s indentations, thread the yarn through the center of the pumpkin from top to bottom, pulling tightly to create segments. Do this 4-6 times to form distinct pumpkin sections. Secure the yarn by tying it off.
5. Make the Stem
- With green or brown yarn, chain 5.
- Row 1: Single crochet in the second chain from the hook and in each stitch across (4 stitches total). Chain 1, turn.
- Rows 2-3: Single crochet across.
- Fasten off, leaving a long tail for sewing.
- Roll the small piece into a stem and sew it onto the top of the pumpkin.
Optional: Add Leaves or Tendrils
- For a vine, chain a length (e.g., 10-15 chains), and then work 2 single crochets into each chain back down. This will create a curly tendril. Sew onto the top near the stem.
Finishing Touches
- Weave in any loose ends, and your pumpkin is complete!
Crochet Toadstool
Materials:
- Yarn: Red and white worsted weight yarn
- Crochet hook: 4.0mm
- White beads: Small craft beads for the mushroom cap
- Tapestry needle: For sewing pieces together and weaving in ends
- Stuffing: Fiberfill for filling the toadstool
- Scissors
Abbreviations:
- ch: Chain
- sc: Single crochet
- inc: Increase (2 single crochets in the same stitch)
- dec: Decrease (single crochet two stitches together)
- sl st: Slip stitch
Instructions:
1. Mushroom Cap (Red Part)
Round 1:
- Start with red yarn. Create a magic ring, and crochet 6 sc into the ring. Pull tight to close the ring. (6 sts)
Round 2:
- 2 sc in each stitch around (inc in every stitch). (12 sts)
Round 3:
- 1 sc, inc around. (18 sts)
Round 4:
- 2 sc, inc around. (24 sts)
Round 5:
- 3 sc, inc around. (30 sts)
Round 6-8:
- Sc in each stitch around. (30 sts)
Round 9:
- 3 sc, dec around. (24 sts)
Round 10:
- 2 sc, dec around. (18 sts)
Round 11:
- 1 sc, dec around. (12 sts)
Before closing the cap, add some stuffing to it to give it a rounded shape. Then finish the last round:
Round 12:
- Dec around to close (6 sts). Fasten off, leaving a long tail for sewing.
2. Add Beads to Cap
Before attaching the stem, sew or glue small white beads randomly onto the red mushroom cap to mimic the spots. You can sew the beads on using a small needle and white thread or yarn.
3. Mushroom Stem (White Part)
Round 1:
- With white yarn, create a magic ring, and crochet 6 sc into the ring. Pull tight to close the ring. (6 sts)
Round 2:
- 2 sc in each stitch around (12 sts)
Round 3:
- 1 sc, inc around. (18 sts)
Round 4-7:
- Sc in each stitch around. (18 sts)
Round 8:
- 1 sc, dec around. (12 sts)
Round 9-11:
- Sc in each stitch around (12 sts). Stuff the stem firmly with fiberfill.
Round 12:
- Dec around to close (6 sts). Fasten off and weave in the ends.
4. Assemble the Toadstool
- Sew the mushroom stem to the bottom of the mushroom cap, using the long tail of red yarn left from the cap.
- Ensure the cap is securely attached, and adjust the stuffing as needed.
Optional: Add More Details
- You can crochet additional small pieces for leaves or embellishments to make the mushroom even more decorative, similar to what’s seen in the image.
Be the first to comment