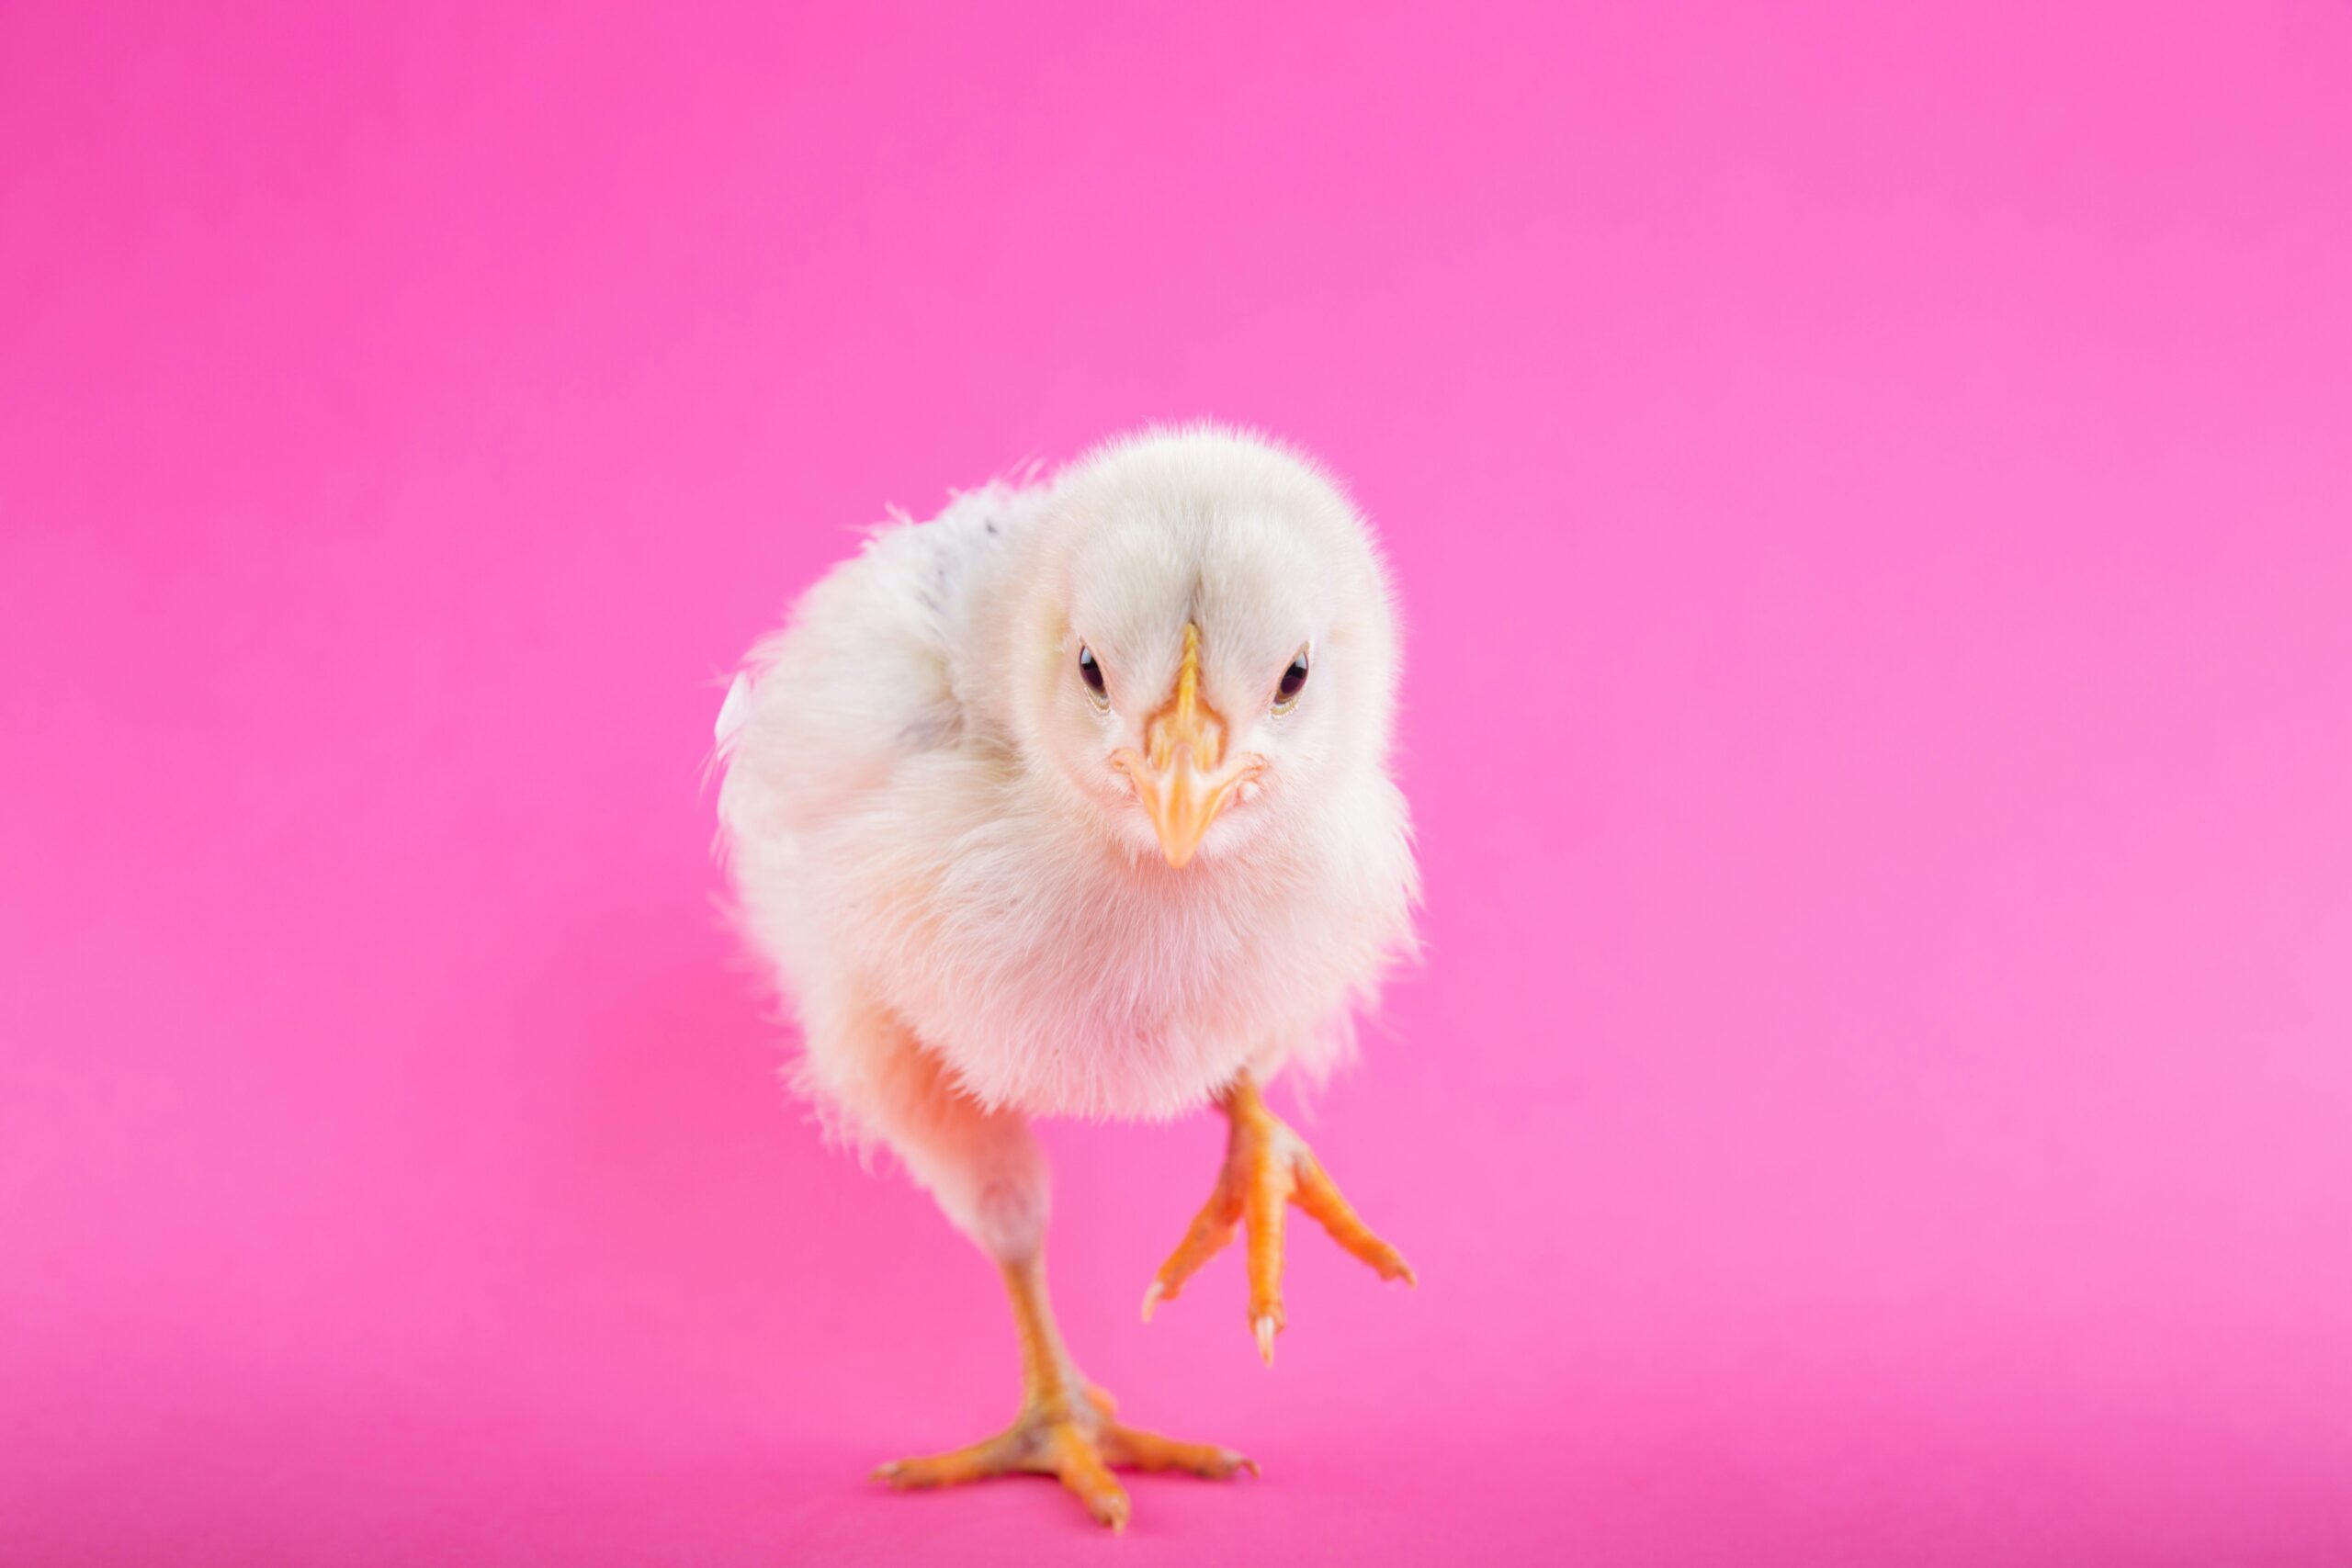
Hatching chicks at home can be an educational and exciting experience for kids. It’s important to note that hatching eggs requires careful planning, monitoring, and attention to the well-being of the chicks. Here’s a general guide on how to hatch chicks at home with your kids:
Materials and Equipment:
- Incubator:
- Purchase or borrow a reliable egg incubator. Ensure that it maintains a consistent temperature and humidity.
- Fertile Eggs:
- Obtain fertilized eggs from a reputable source. Local farmers, hatcheries, or poultry supply stores are good places to look.
- Thermometer and Hygrometer:
- Use these tools to monitor the temperature and humidity levels inside the incubator.
- Candling Device:
- Candling is the process of shining a light through the egg to observe embryo development. You can use a specialized candling device or a strong flashlight.
- Egg Turner (optional):
- An automatic egg turner can help mimic the natural process of a hen turning the eggs. This is optional but can be beneficial.
- Water Trays:
- Place water trays in the incubator to maintain humidity.
- Brooder Setup:
- Prepare a brooder for the chicks to move into after hatching. It should include a heat lamp, bedding, feeder, and waterer.
Steps:
- Set Up the Incubator:
- Follow the manufacturer’s instructions to set up the incubator. Ensure that the temperature is stable at around 99-100°F (37-38°C) and humidity is maintained at about 40-50% during the incubation period.
- Choose Fertile Eggs:
- Select clean and undamaged fertile eggs. Store them in a cool place (not the refrigerator) until you are ready to incubate.
- Place Eggs in the Incubator:
- Carefully place the eggs in the incubator, large end up. If you’re using an egg turner, turn it on.
- Monitor Temperature and Humidity:
- Regularly check and adjust the temperature and humidity levels. Follow the guidelines provided with your incubator.
- Candle the Eggs:
- After about a week, use a candling device to check the eggs for signs of embryo development. Remove any clear or infertile eggs.
- Stop Turning:
- Around three days before the expected hatch date, stop turning the eggs and increase the humidity to about 65%.
- Prepare the Brooder:
- Set up the brooder with a heat lamp, bedding, feeder, and waterer. Ensure that the temperature inside the brooder is around 95°F (35°C) initially, gradually decreasing over the next few weeks.
- Hatching:
- Eggs typically hatch around day 21, but it can vary. When a chick starts to hatch, avoid opening the incubator too often. Let nature take its course.
- Move Chicks to Brooder:
- Once a chick has hatched and dried off, move it to the brooder. Continue this process as more chicks hatch.
- Care for Chicks:
- Provide proper nutrition, warmth, and care for the chicks in the brooder. Monitor their health and behavior.
- Educate and Enjoy:
- Involve your kids in the process, explaining the different stages of development. This hands-on experience can be educational and enjoyable.
Remember to thoroughly research and understand the entire incubation process before getting started. Also, check local regulations and restrictions, as well as any ethical considerations related to hatching and keeping chickens. —Vita Daily

Be the first to comment